Argocd installation
CI/CD pipeline configuration with Tekton and ArgoCD on Kubernetes
Kubernetes 기반의 CI/CD 환경 구축을 위해서 Tekton과 ArgoCD를 사용하여 환경을 구성해보자.
- Tekton installation
- Tekton dashboard installation
- Argocd installation
Prerequisites
- Kubernetes cluster version 1.15 or higher and Tekton Pipelines v0.11.0 or higher
- Enable Role-Based Access Control in the cluster
- Grant current user the cluster-admin role
ArgoCD Installation
ArgoCD 구성은 OIDC를 사용하여 RBAC를 적용할 예정이므로 설치에 앞서 OIDC 구성을 진행하도록 한다. 여기서는 OIDC Provider를 Keycloak을 사용하였다.
Config OIDC
keycloak에서 client를 생성하였고 생성된 정보는 아래와 같다.
- client_id : cicd
- client_secret: 250ddd77-392e-4130-b4fc-a64201bcadf4
- group : argocd_admin
- role : argocd-admin
그리고 ArgoCD에서 사용할 Group과 Role은 ArgoCD 사이트의 RBAC 예제를 참고하여 아래와 같이 구성하였다. 구성을 위해 생성한 oidc.yaml과 policy.csv 파일은 RBAC은 Helm을 이용할 설치때 반영된다.
oidc.yaml
name: argocd
issuer: https://auth.homelab.local/auth/realms/homelab
clientID: cicd
clientSecret: 250ddd77-392e-4130-b4fc-a64201bcadf4
requestedIDTokenClaims:
  groups:
    essential: true
requestedScopes:
  - openid
  - profile
  - email
  - groups
policy.csv
# https://argo-cd.readthedocs.io/en/stable/operator-manual/rbac/
p, role:argocd-admin, clusters, *, *, allow
p, role:argocd-admin, projects, *, *, allow
p, role:argocd-admin, applications, *, */*, allow
p, role:argocd-admin, repositories, *, *, allow
p, role:argocd-admin, certificates, *, *, allow
p, role:argocd-admin, accounts, *, *, allow
p, role:argocd-admin, gpgkeys, *, *, allow

g, argocd_admin, role:argocd-admin
Install ArgoCD using Helm
ArgoCD는 Helm을 사용하여 설치할 예정이므로 ArgoCD의 Helm Repo를 먼저 추가하도록 한다.
$ /usr/local/bin/helm repo add argo https://argoproj.github.io/argo-helm
"argo" has been added to your repositories
$ /usr/local/bin/helm repo update
Hang tight while we grab the latest from your chart repositories...
...Successfully got an update from the "argo" chart repository
...Successfully got an update from the "metallb" chart repository
Update Complete. ⎈Happy Helming!⎈
Helm Repo 추가가 완료되면 아래의 명령으로 ArgoCD를 설치하도록 한다. 여기서는 ArgoCD 접속을 다른 도메인과 TLS를 사용하므로 추가 설정을 진행하였다.
$ /usr/local/bin/helm install
–create-namespace
–namespace argocd
–set dex.enabled=false
–set server.config.url=’https://argocd.homelab.local/’
–set-file server.config.”oidc.config”=./argocd-oidc.yaml
–set-file server.rbacConfig.”policy.csv”=./argocd-policy.csv
argocd
argo/argo-cd
$ /usr/local/bin/helm install \
    --create-namespace \
    --namespace argocd \
    --set dex.enabled=false \
    --set server.config.url='https://argocd.homelab.local/' \
    --set-file config.secret.argocdServerRlsConfig=./homelab.local.crt \
    --set-file server.config."oidc\.config"=./argocd-oidc.yaml \
    --set-file server.rbacConfig."policy\.csv"=./argocd-policy.csv \
    argocd \
    argo/argo-cd
NAME: argocd
LAST DEPLOYED: Sun Feb  6 16:47:57 2022
NAMESPACE: argocd
STATUS: deployed
REVISION: 1
TEST SUITE: None
NOTES:
In order to access the server UI you have the following options:

1. kubectl port-forward service/argocd-server -n argocd 8080:443

    and then open the browser on http://localhost:8080 and accept the certificate

2. enable ingress in the values file `server.ingress.enabled` and either
      - Add the annotation for ssl passthrough: https://github.com/argoproj/argo-cd/blob/master/docs/operator-manual/ingress.md#option-1-ssl-passthrough
      - Add the `--insecure` flag to `server.extraArgs` in the values file and terminate SSL at your ingress: https://github.com/argoproj/argo-cd/blob/master/docs/operator-manual/ingress.md#option-2-multiple-ingress-objects-and-hosts


After reaching the UI the first time you can login with username: admin and the random password generated during the installation. You can find the password by running:

kubectl -n argocd get secret argocd-initial-admin-secret -o jsonpath="{.data.password}" | base64 -d

(You should delete the initial secret afterwards as suggested by the Getting Started Guide: https://github.com/argoproj/argo-cd/blob/master/docs/getting_started.md#4-login-using-the-cli)
설치가 완료되면 Pod가 정상적으로 실행되고 있는지 확인한다.
$ kubectl get -n argocd pods
NAME                                             READY   STATUS    RESTARTS   AGE
argocd-application-controller-86c57f76dc-cpdpg   1/1     Running   0          21s
argocd-redis-845d58fd5f-xg2j4                    1/1     Running   0          21s
argocd-repo-server-6589869f7d-6jr7p              1/1     Running   0          21s
argocd-server-788d9897d6-pjkp6                   1/1     Running   0          21s
Config ingress for ArgoCD
ArgoCD Server 접속을 위한 Ingress 설정을 진행한다. 여기에서는 HTTPS를 기본으로 사용하므로 ingress에서 사용하는 Self Signed Certificate를 먼저 준비하도록 하자. 준비된 인증서로 secret을 생성한다.
$ kubectl create -n argocd secret generic tls-secret \
  --from-file=tls.crt=./argocd.homelab.local.crt \
  --from-file=tls.key=./argocd.homelab.local.key
secret/tls-secret created
secret 생성이 완료되면 바로 ArgoCD server를 위한 ingress를 설정하도록 한다.
$ export ARGOCD_HOSTNAME=argocd.homelab.local
$ kubectl apply -n argocd -f - << EOF
apiVersion: networking.k8s.io/v1
kind: Ingress
metadata:
  name: argocd-server
  namespace: argocd
  annotations:
    kubernetes.io/ingress.class: nginx
    kubernetes.io/tls-acme: "true"
    nginx.ingress.kubernetes.io/ssl-passthrough: "true"
    nginx.ingress.kubernetes.io/backend-protocol: "HTTPS"
spec:
  rules:
  - host: $ARGOCD_HOSTNAME
    http:
      paths:
      - pathType: ImplementationSpecific
        backend:
          service:
            name: argocd-server
            port:
              number: 443
  tls:
    - hosts:
        - $ARGOCD_HOSTNAME
      secretName: tls-secret
EOF
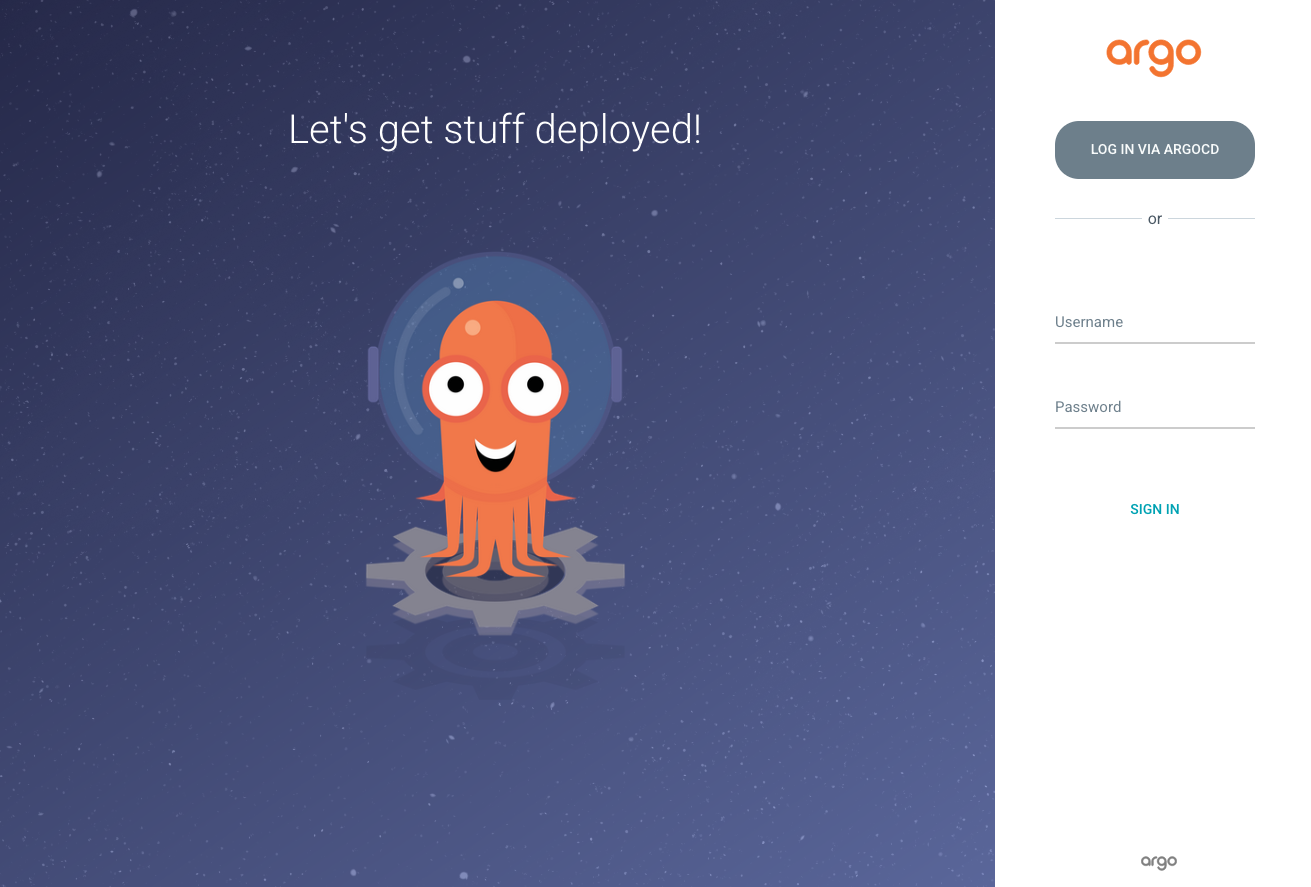
ingress 설정이 완료되면 설정이 제대로 되었는지 로그인을 해보도록 하자.
ArgoCD Login Page에서 LOG IN VIA ARGOCD 버튼을 클릭한다. Keycloak 페이지로 이동된다.
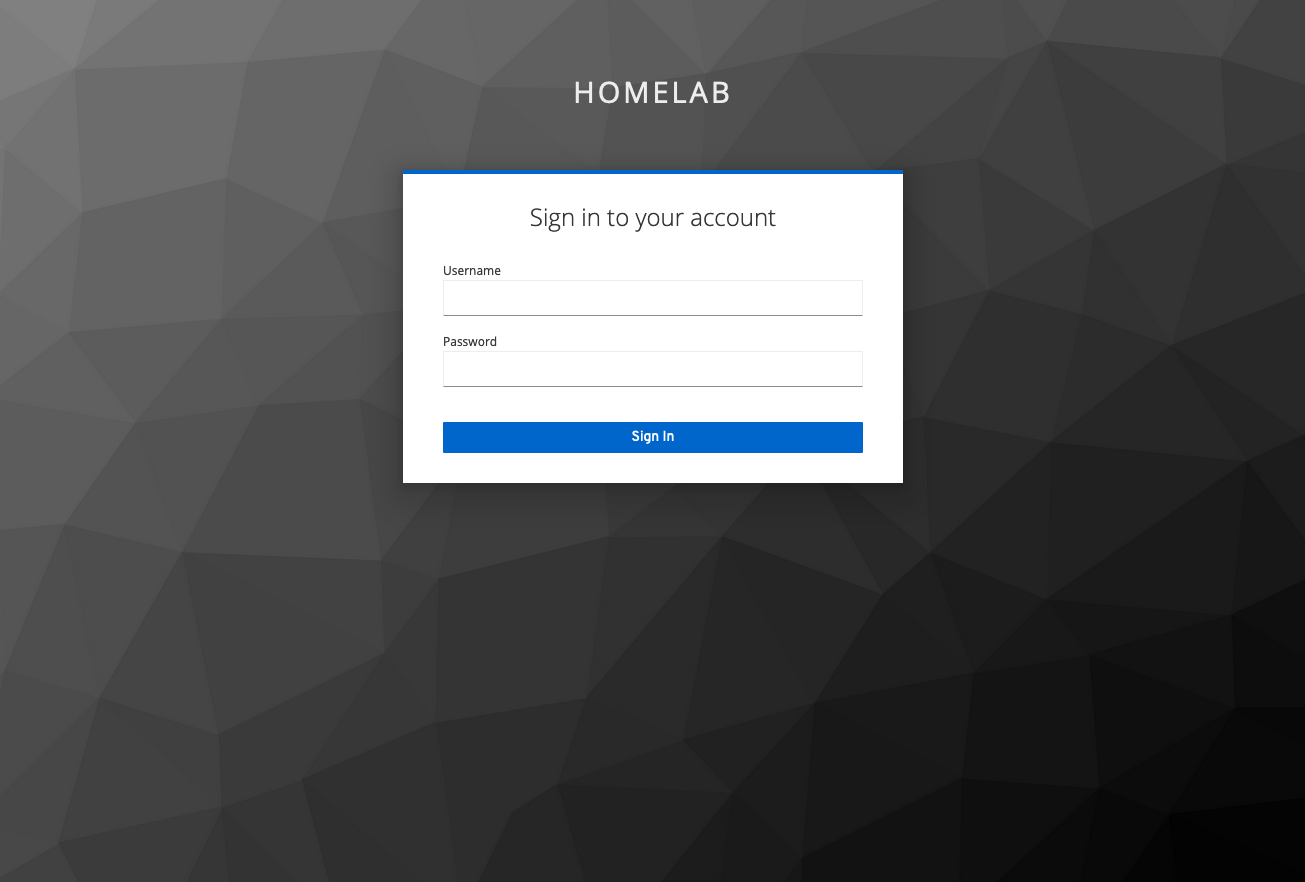
Keycloak Login Page를 로그인한다. 정상적으로 로그인 되었다면 ArgoCD Main Page로 이동된다.
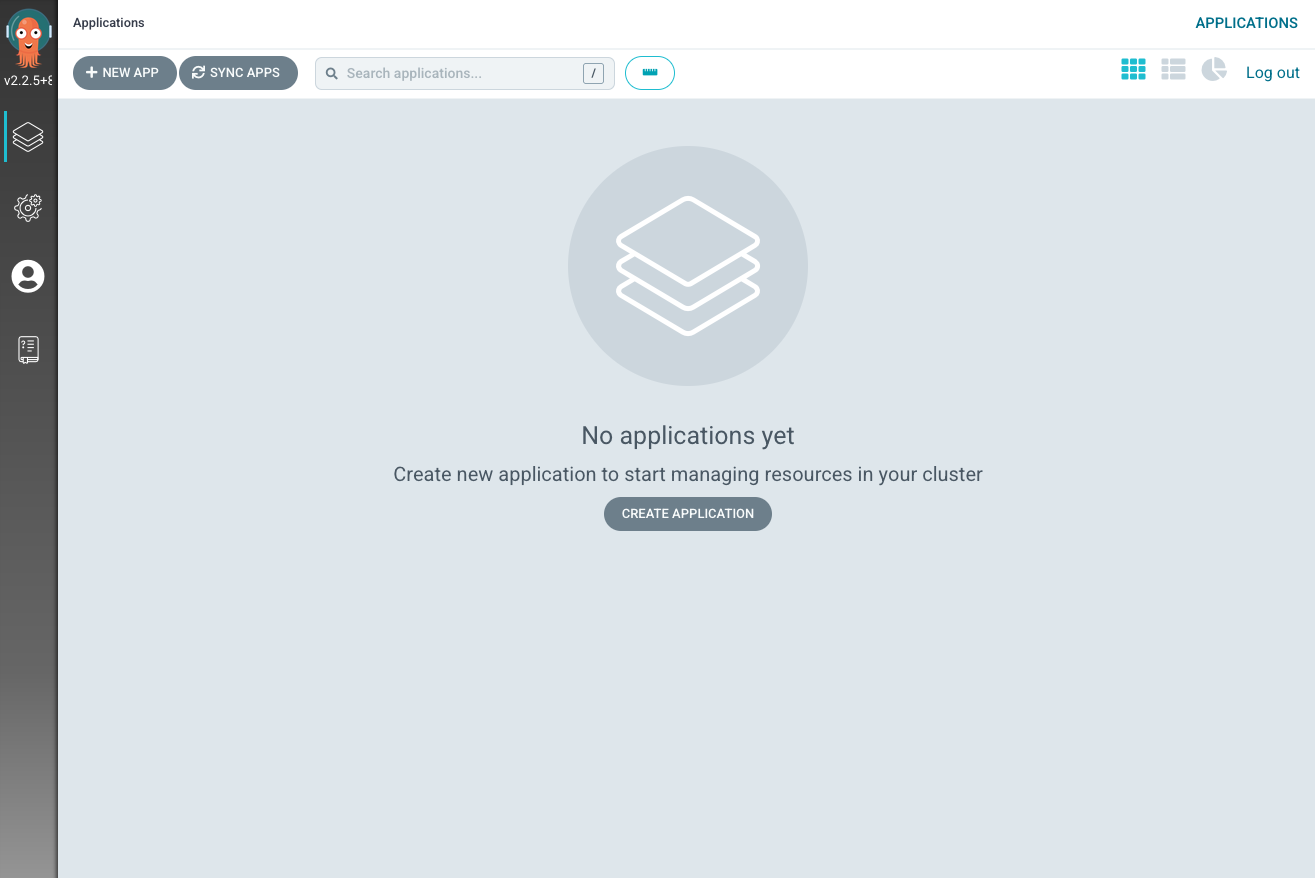
ArgoCD Main Page가 정상적으로 표시되면 ArgoCD에 OIDC가 정상적으로 설정된것이다.
Conclusion
CI/CD Pipeline 구성을 위한 환경이 완성되었다. 다음에는 Tekton과 ArgoCD를 이용하여 Hello World Pipeline을 구성해보도록 하자.
댓글남기기